
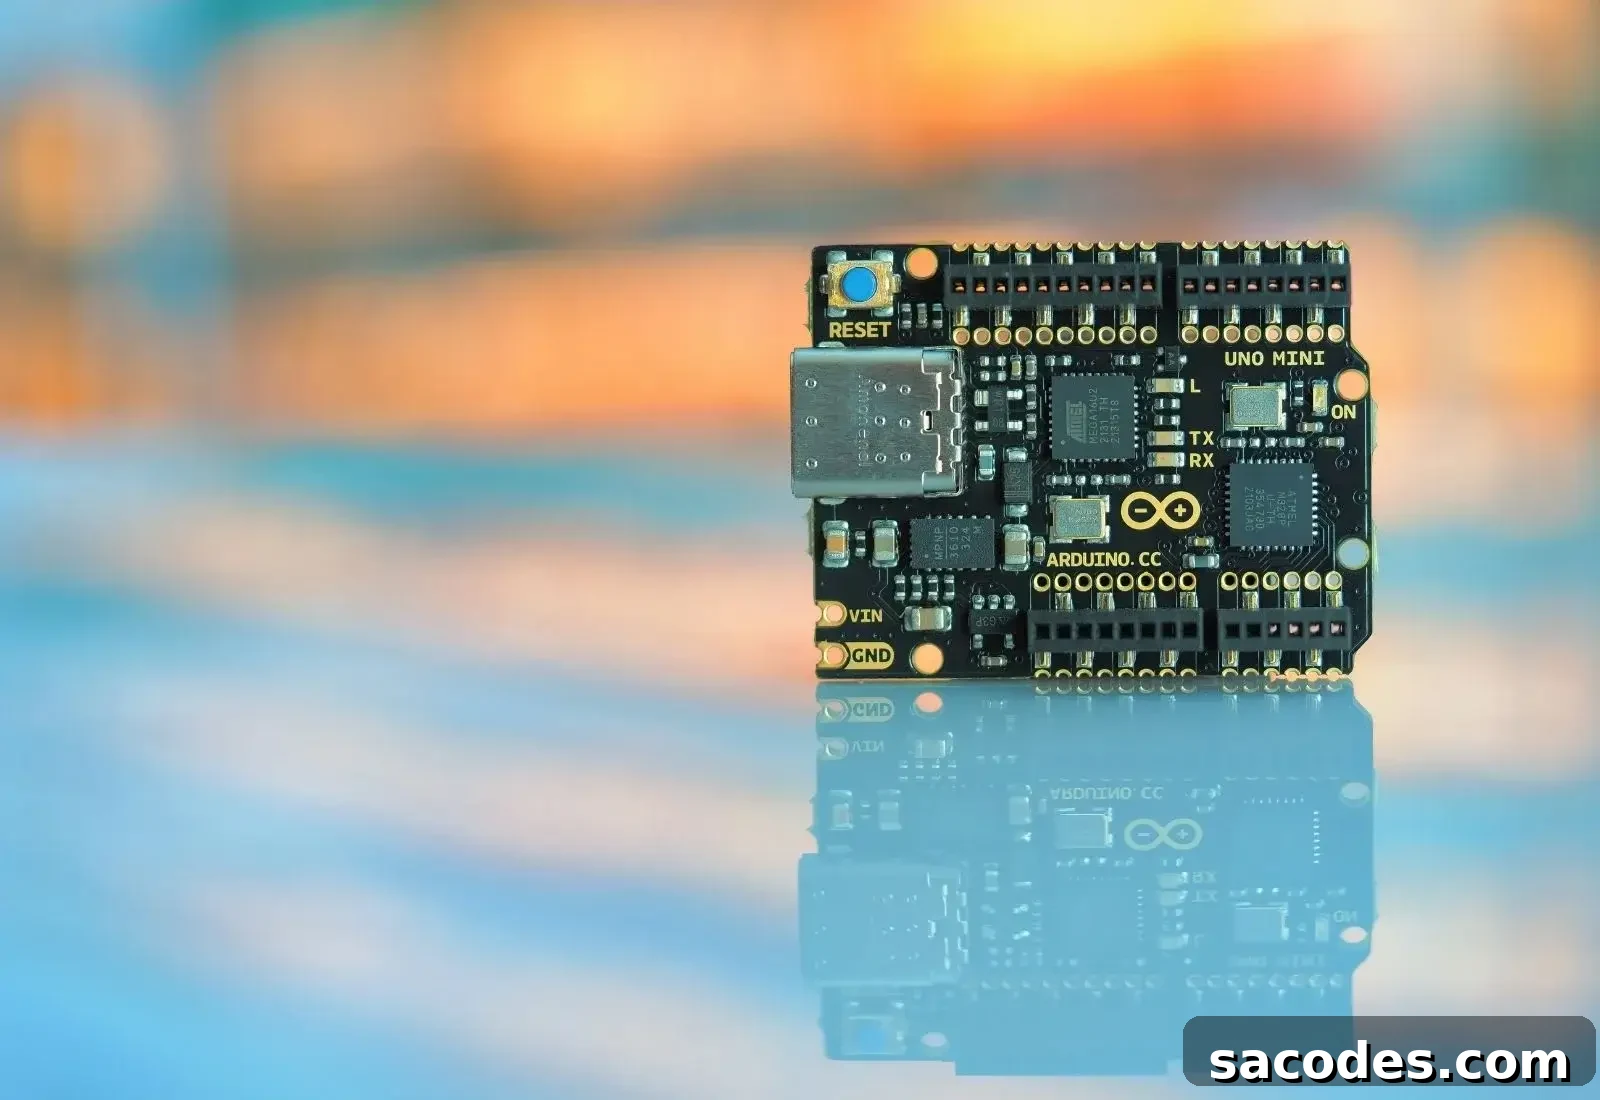
In an era of rapidly advancing technology, there are many platforms and tools for developing and controlling electronic systems. One of the most popular is Arduino, an open-source electronic prototyping platform. Arduino is an excellent choice for hobbyists, students and professionals who want to design, prototype or even produce electronic projects.
What Is Arduino?
Arduino is a microcontroller-based platform designed to make electronics and embedded programming accessible. Originally developed by the Italian company Arduino LLC, Arduino boards allow you to interface with sensors, motors and other electronic components. The platform is well known for its approachable programming environment—the Arduino IDE—which makes it easy to write, compile and upload code to the board.
How Does Arduino Work?
At its core, Arduino runs a program on a microcontroller that performs the tasks you define. You write code using the Arduino language (based on C/C++), compile it in the Arduino IDE, and upload the compiled program to the board via USB. Once uploaded, the microcontroller executes the program continuously, reading inputs from sensors, controlling outputs like LEDs and motors, and communicating with other devices as needed.
Core Components and Their Functions
An Arduino board contains several essential parts that determine its capabilities and how you can use it in projects. Understanding these components helps you select the right board and design effective circuits.
1. Microcontroller (MCU): The microcontroller is the central processing unit of the Arduino board. Popular Arduino models often use an ATmega-series chip (for example, the ATmega328). The MCU executes the program you upload and manages input/output operations.
2. Input/Output Pins (I/O Pins): I/O pins connect the board to sensors, actuators and other modules. They come in two main types:
- Digital pins: These pins handle binary signals—HIGH or LOW (1 or 0)—and are suitable for switches, digital sensors and simple on/off control of devices like LEDs.
- Analog pins: Analog pins read varying voltage levels (commonly 0–5V) and are used with potentiometers, analog sensors and devices that output continuous signals.
3. Power Input: Arduino boards can be powered via USB or an external power supply. The power input provides the necessary voltage for the microcontroller and attached components.
4. Integrated Development Environment (IDE): The Arduino IDE is a user-friendly tool for writing, compiling and uploading sketches (programs). It supports a wide range of Arduino boards and simplifies the development workflow.
5. USB Connection: The USB port is used for programming the board and for serial communication with a computer. It also often supplies power during development.
6. Onboard LEDs: Most boards include one or more built-in LEDs for simple status indications and quick debugging, such as power and activity indicators.
7. Reset Button: The reset button restarts the microcontroller and re-runs the uploaded program, which is useful during testing and iterative development.
What Types of Projects Use Arduino?
Arduino’s flexibility and ease of use make it suitable for a wide range of projects across hobby, education and professional domains. Common application areas include:
1. Robotics: Build mobile robots, robotic arms and autonomous vehicles by combining Arduino with motor drivers, sensors and control logic.
2. Automation: Implement home automation, environmental control or light and appliance scheduling systems using sensors and relays controlled by Arduino.
3. IoT (Internet of Things): Connect sensors and actuators to the internet using network-capable shields or modules to create weather stations, remote monitors or smart home devices.
4. Education and Training: Arduino is widely used in classrooms and workshops to teach electronics, programming and system design through hands-on experiments and projects.
Because Arduino is open-source, users can customize hardware and software and share their designs with the community. That openness accelerates learning and innovation while providing many ready-made libraries and examples.
Operating Principle and Development Workflow
Working with Arduino typically follows a clear cycle: plan, code, compile, upload, test and iterate. First, you design the circuit and write code that defines the desired behavior. Next, the code is compiled into a format the microcontroller can run and uploaded to the board. During execution, the Arduino reads inputs, processes logic and drives outputs continuously. Feedback comes from serial messages, onboard LEDs or connected displays and sensors, enabling debugging and refinement. Iteration is a natural part of the process—modify the code or circuit, upload again and observe the results until the project meets its goals.
Arduino opens the door to hands-on electronics and embedded programming. Its approachable hardware, extensive community resources and versatile software tools make it a practical starting point for anyone looking to bring ideas to life, from simple prototypes to complex embedded systems.