
Want to set up an IMAP email account on your iPhone? This guide provides clear, step-by-step instructions for configuring IMAP mail on your iPhone for work or personal use. The process is straightforward and will help you keep your messages synchronized across multiple devices. Follow the steps below to complete the IMAP mail setup on your iPhone.
What Is IMAP?
IMAP (Internet Message Access Protocol) is an email protocol that keeps your messages on the server so you can access them from multiple devices. Unlike download-and-delete methods, IMAP synchronizes mailboxes across devices, preserving read/unread status, folders, and sent items. This makes email management consistent whether you use an iPhone, tablet, or computer.
IMAP vs POP3: Key Differences
There are important differences between IMAP and POP3 (Post Office Protocol). IMAP stores emails on the server and synchronizes them among devices, while POP3 typically downloads messages to a single device and may remove them from the server. If you access email from more than one device, IMAP is usually the better option because it keeps all devices in sync.
Information You Need Before Setup
Before beginning the setup, gather the following details from your email provider:
- Email address
- Password
- Incoming mail server (IMAP server hostname)
- Outgoing mail server (SMTP server hostname)
- Incoming server port number
- Outgoing server port number
These settings are usually available from your email service’s support documentation or account settings page.
How to Set Up IMAP Mail on iPhone
1. Open Settings
On your iPhone, open the Settings app. The Settings icon typically looks like a gear and is located on the Home screen.
2. Add a Mail Account
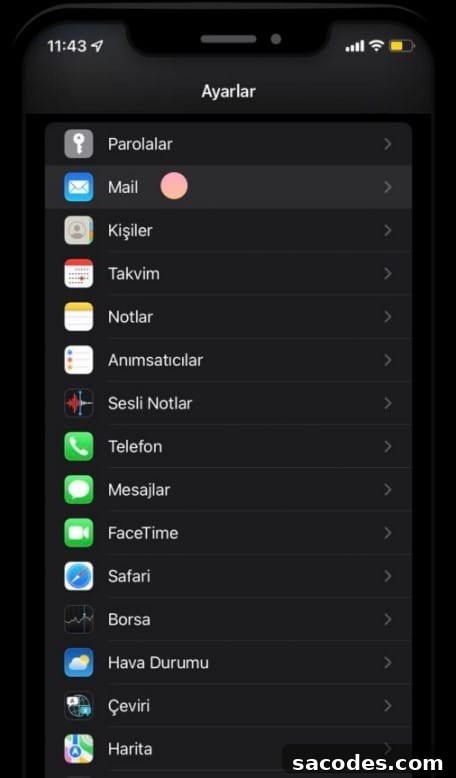
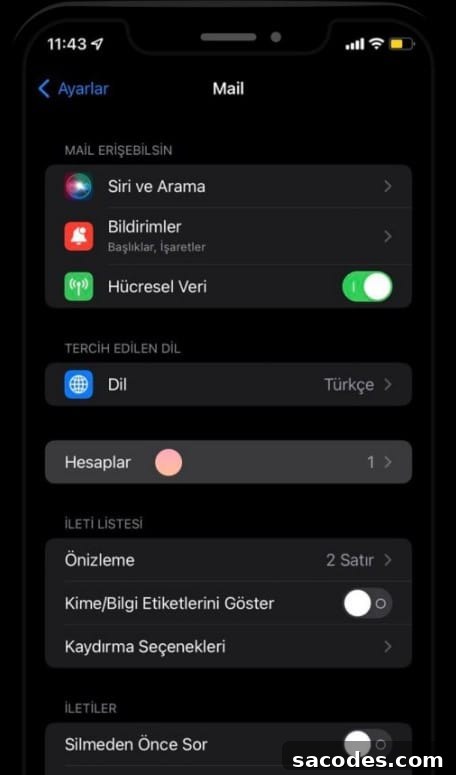
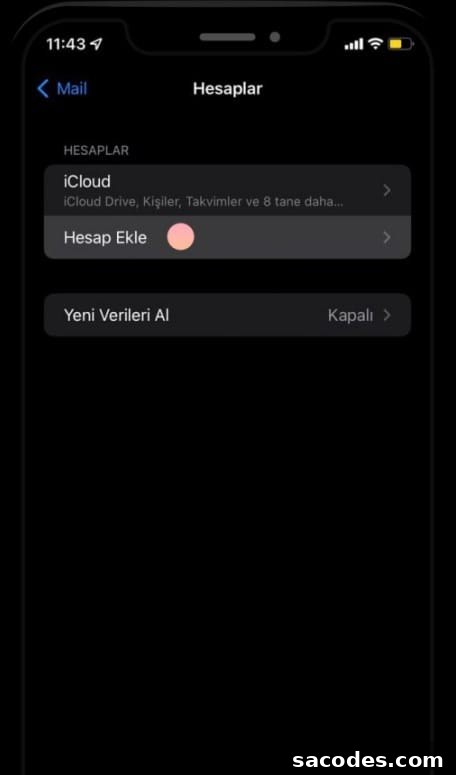
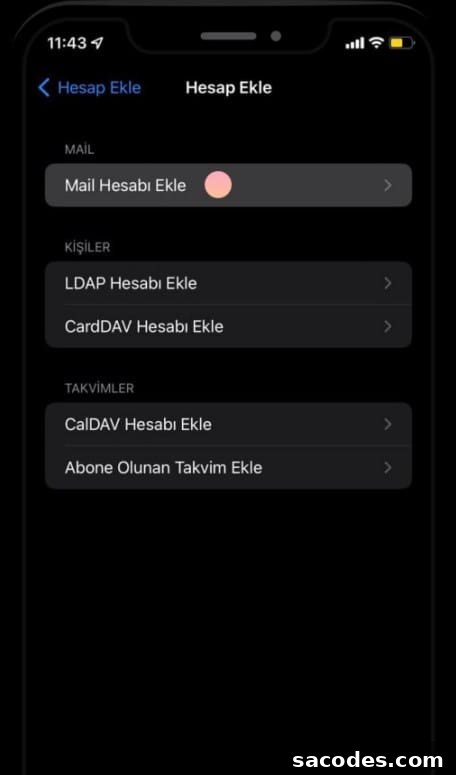
In Settings, tap Mail, then select Accounts and tap Add Account. This opens the list of supported email providers.
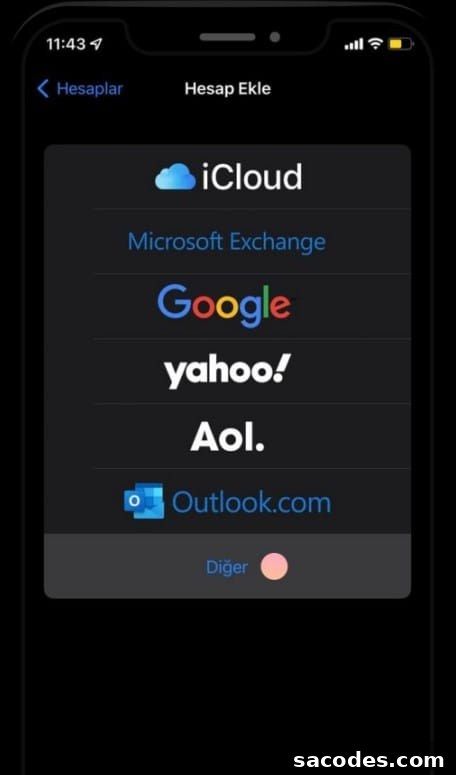
3. Choose Your Email Provider
If your provider appears in the list, select it. If not, choose Other to enter the account manually.
4. Enter Account Details
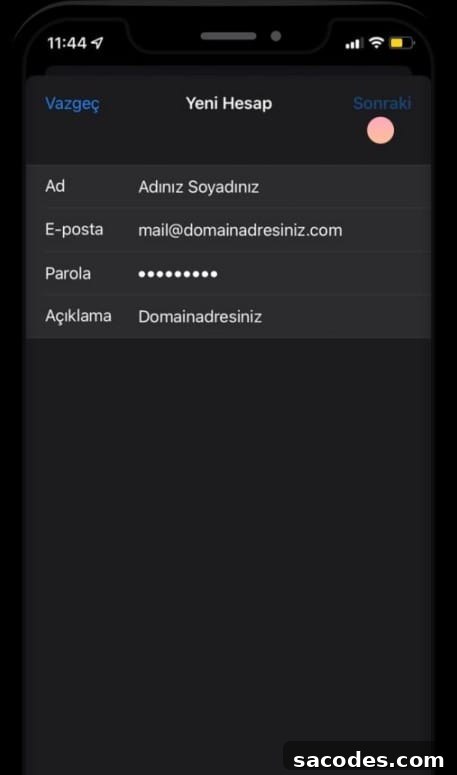
Enter your Name, Email address, Password, and a Description for the account. The name and description are what will appear in the Mail app to identify this account.
5. Configure Incoming and Outgoing Mail Servers
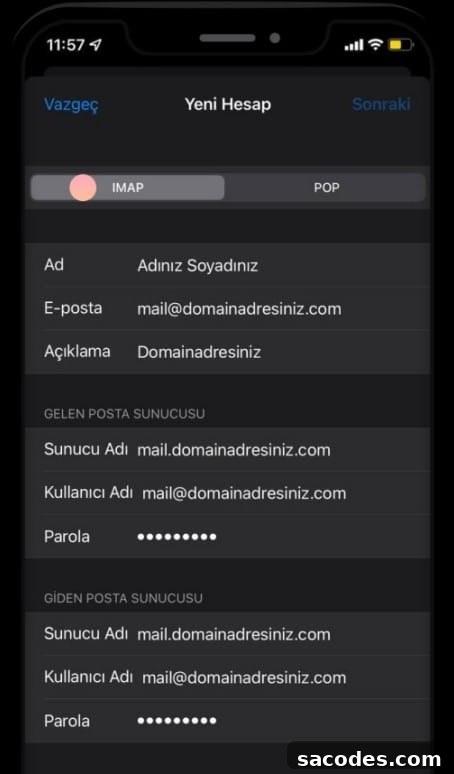
Next, enter the incoming (IMAP) and outgoing (SMTP) server details provided by your email provider.
a. Incoming Mail Server (IMAP):
- Server name (e.g., imap.yourprovider.com)
- Username (usually your full email address)
- Password
b. Outgoing Mail Server (SMTP):
- Server name (e.g., smtp.yourprovider.com)
- Username (usually your full email address)
- Password
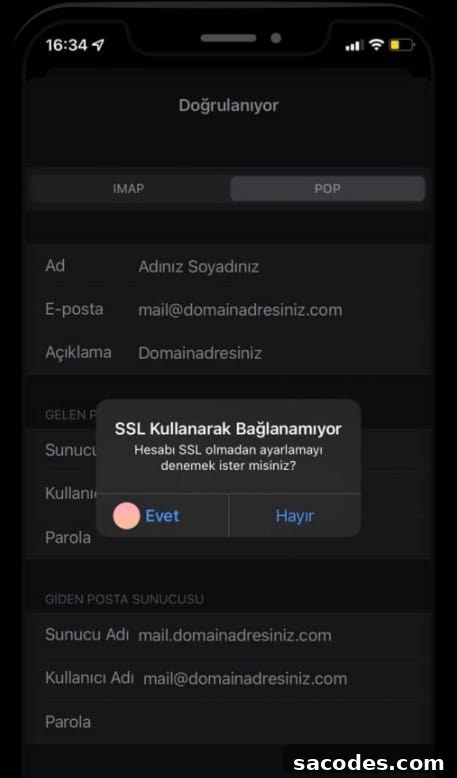
After entering these details, the iPhone will attempt to verify the information. This may take a few seconds depending on your internet connection. Tap Yes or Continue when prompted, then tap Save on the next screen to add the account.
6. Advanced Settings: Ports and Security
You may need to enter port numbers and security settings for both incoming and outgoing servers. Use the settings your email provider recommends:
- IMAP Port: commonly 143 (non-SSL) or 993 (SSL)
- SMTP Port: commonly 25, 465 (SSL), or 587 (STARTTLS)
- Security type: SSL/TLS or STARTTLS, depending on the server
7. Save the Account
When all fields are filled correctly, tap Save. Your iPhone will verify the settings and add the account to the Mail app. If verification fails, double-check the server names, username, password, port numbers, and security options.
8. Choose Mail Sync Settings
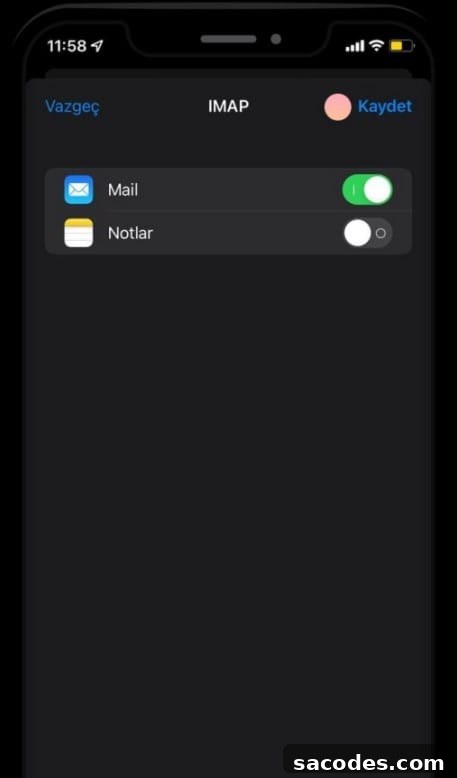
Once the account is added, customize synchronization options. Decide how many days of mail to sync, whether to sync folders like Drafts and Sent, and enable or disable Notes or other features tied to the account.
Common Problems and Solutions
Login Errors
If you receive login errors, verify your username, password, and that your account is active. Some providers require app-specific passwords or two-factor authentication to be configured before you can add the account to a mail app.
Server Connection Issues
If you cannot connect to the IMAP or SMTP servers, confirm the port numbers and security settings. Ensure you are using the latest server information from your email provider and that your network allows the required ports.
Problems Sending Email
If outgoing messages fail, recheck the SMTP server settings, username, and port. Switching between SSL/TLS and STARTTLS or using a different SMTP port can resolve many sending issues.
Security Tips
- Use a strong, unique password: Protect your email account with a complex password you don’t use elsewhere.
- Enable two-factor authentication: When available, turn on two-factor authentication for added protection.
- Keep software updated: Regularly update your iPhone and mail apps to benefit from security patches and improvements.
- Use encrypted connections: Prefer SSL/TLS or STARTTLS for IMAP and SMTP to keep your email traffic encrypted.
Setting up an IMAP email account on an iPhone is a practical way to keep your messages synchronized across devices. By following these steps and verifying the correct server details, port numbers, and security settings, you can add your email account quickly and manage messages reliably from your iPhone. If you run into issues, recheck the credentials and server settings or contact your email provider for the exact configuration details.