
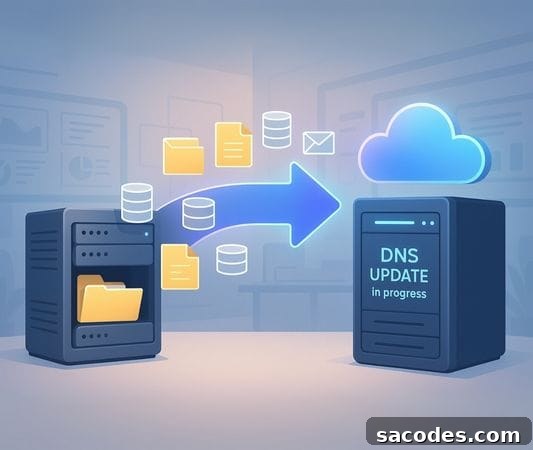
The success of a website depends not only on its content and design but also on the hosting infrastructure that supports it. Over time your current hosting may become inadequate, your site may need more resources or stronger security, or you may seek a better price-to-performance solution. In such cases, site migration — moving your site from an old hosting provider to a new one — becomes necessary.
A well-planned migration ensures visitors continue to access your site without interruptions. If handled poorly, migration can lead to data loss, drops in search rankings, or accessibility problems.
This article walks through the website migration process step by step, outlining common risks and the precautions you should take to make the transfer smooth and SEO-friendly.
Why Migrate a Website?
The main reasons to move a website to a different hosting provider include:
-
Performance Issues: Slow-loading pages or frequent downtime can force a migration to faster, more reliable infrastructure.
-
Insufficient Resources: As traffic grows or projects expand, your site may require more disk space, RAM, CPU, or bandwidth.
-
Security Shortcomings: An outdated or poorly secured hosting environment can put your site at risk and may not meet modern security standards.
-
Cost Considerations: Moving to a more cost-effective or value-packed hosting plan can reduce long-term expenses.
-
Support Quality: Inadequate technical support from your current provider can disrupt operations and motivate a switch.
Preparation Before Migration
Careful planning is essential for a successful migration. Before you start, complete the following preparation steps:
♦ Choose the Right Hosting
- Select a hosting plan that meets your project’s CPU, RAM, disk space, and bandwidth needs.
- Evaluate value-added features such as backups, security measures, and uptime guarantees.
♦ Create Full Backups
- Take full backups of both your website files and your databases.
- Store backups in a secure, separate location such as an external drive or cloud storage.
♦ Domain and DNS Management
- Confirm whether your domain is managed with your current hosting provider or with a separate registrar.
- Ensure you have access to update DNS settings or nameservers when needed.
♦ Set Up a Test Environment
- Create a staging domain or subdomain on the new hosting so you can test the site after migration without affecting live traffic.
Website Migration Steps
→ Transfer Website Files
- Connect to the old hosting account using FTP (for example, FileZilla) or the control panel file manager.
- Download all files from the public_html (or equivalent) directory to your local machine.
- Upload the files to the new hosting account, preserving the same directory structure.
→ Transfer the Database
- Export the relevant database from the old host using phpMyAdmin or a similar tool.
- Create a new database and user in the new hosting control panel.
- Import the exported SQL file into the new database.
- Update configuration files (for example,
wp-config.phpfor WordPress) with the new database credentials.
→ Update DNS Settings
- Change your domain’s nameserver (NS) records at the registrar to those provided by the new hosting provider.
- DNS propagation typically takes 24–48 hours worldwide; during this period some users may reach the old server while others reach the new one.
→ Migrate Email Accounts
- Recreate your email addresses on the new hosting platform exactly as they existed on the old host.
- IMAP accounts will synchronize emails automatically; POP3 users should back up mailboxes and import them manually if required.
Post-Migration Checks
After the migration is complete, verify the following points to ensure the site functions correctly and SEO is preserved:
-
Site Appearance: Check that all pages render correctly and there are no visible errors.
-
SSL Certificate: Ensure HTTPS is active and the security certificate is properly installed and redirect rules are working.
-
Database Connectivity: Confirm that dynamic content loads correctly and there are no broken database connections.
-
Email Functionality: Test sending and receiving messages from your migrated accounts.
-
Performance Tests: Measure page load times and compare them with the previous hosting to confirm improvements.
Key Considerations During Migration
-
Timing: Perform the migration during low-traffic hours to minimize user disruption.
-
Downtime Management: If necessary, display a maintenance page to visitors while critical steps are being completed.
-
SEO Preservation: Keep URL structures intact and implement 301 redirects if any URLs change to avoid ranking loss.
-
Backup Assurance: Maintain up-to-date backups throughout every stage of the migration in case a rollback becomes necessary.
Professional Assistance for Site Migration
Although the steps are straightforward, the migration process can be complex for users without technical experience. Mistakes during transfer can cause data loss or downtime. For larger or high-traffic sites, hiring professional migration support is often worthwhile to reduce risk and speed up the process.
Migrating a website from an old host to a new one can be completed smoothly with careful planning and correct execution. Moving to a better infrastructure improves site speed and security and can offer long-term cost benefits. With reliable backups, correct DNS handling, and thorough post-migration testing, your visitors should continue to access your site without noticeable interruption.